Hosting in a Minute
Set up your Minecraft server on Goxy in just a few minutes! Below is a simple step-by-step guide to launch a server with your chosen game mode, add-ons, size, and support level.
Have your server ready for your community in minutes!
Step 1: Log in to the Goxy Panel
-
Log in to the Goxy dashboard Go to dashboard.goxy.io. If you don’t have an account, register here. After logging in, you’ll see the main dashboard.
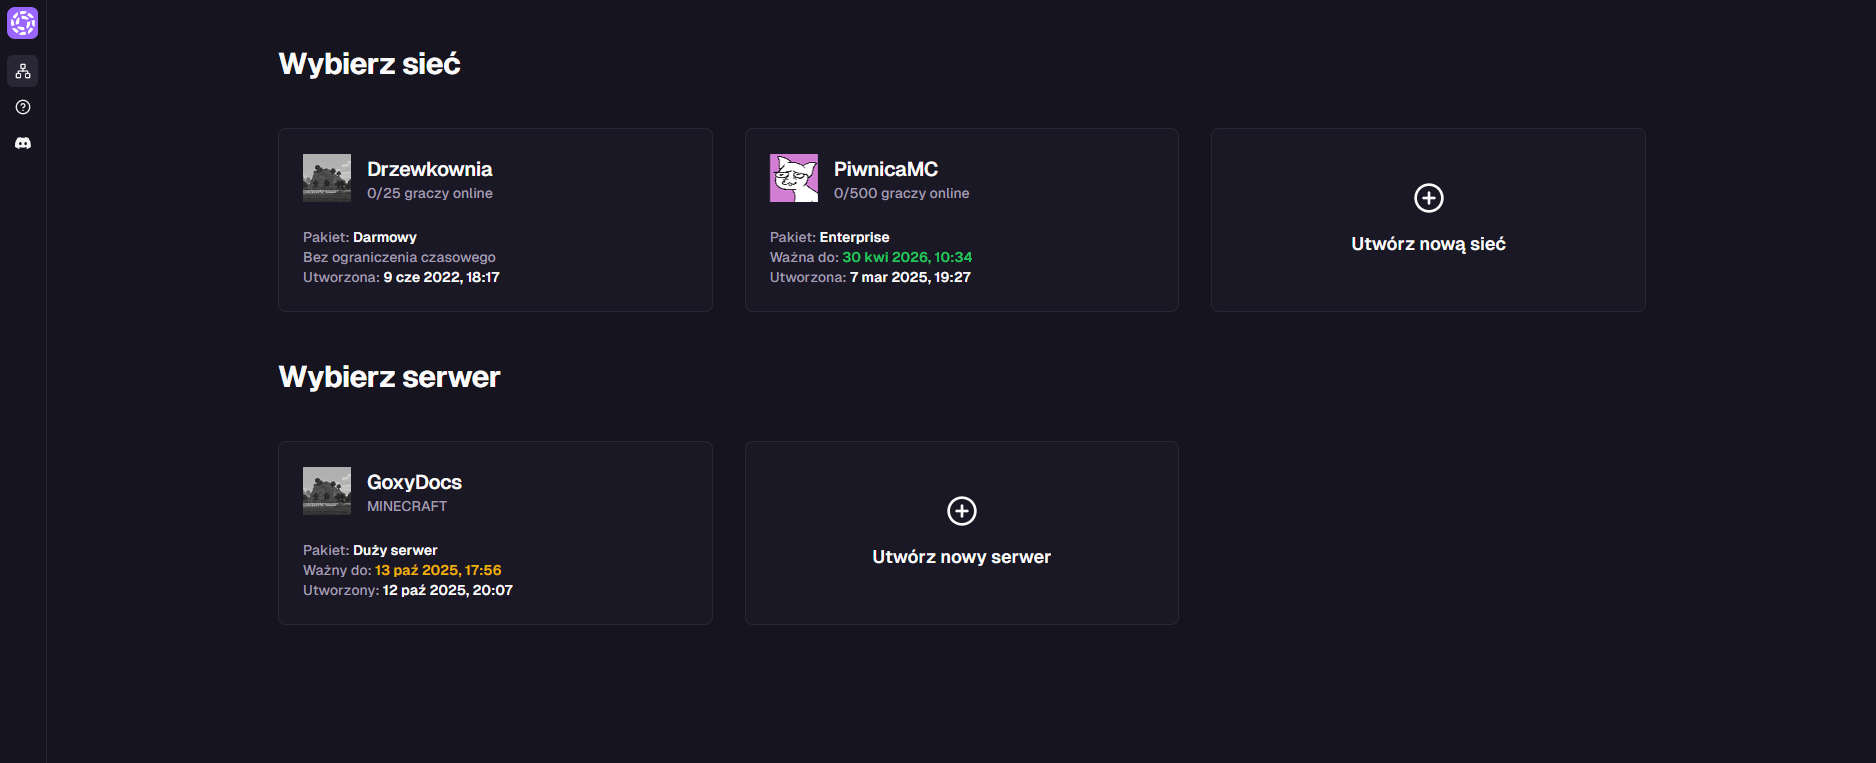
-
Create a new server Click the Create new server button to start configuration.
Step 2: Choose Game Mode
Select the game mode for your server. You can change or adjust it at any time.
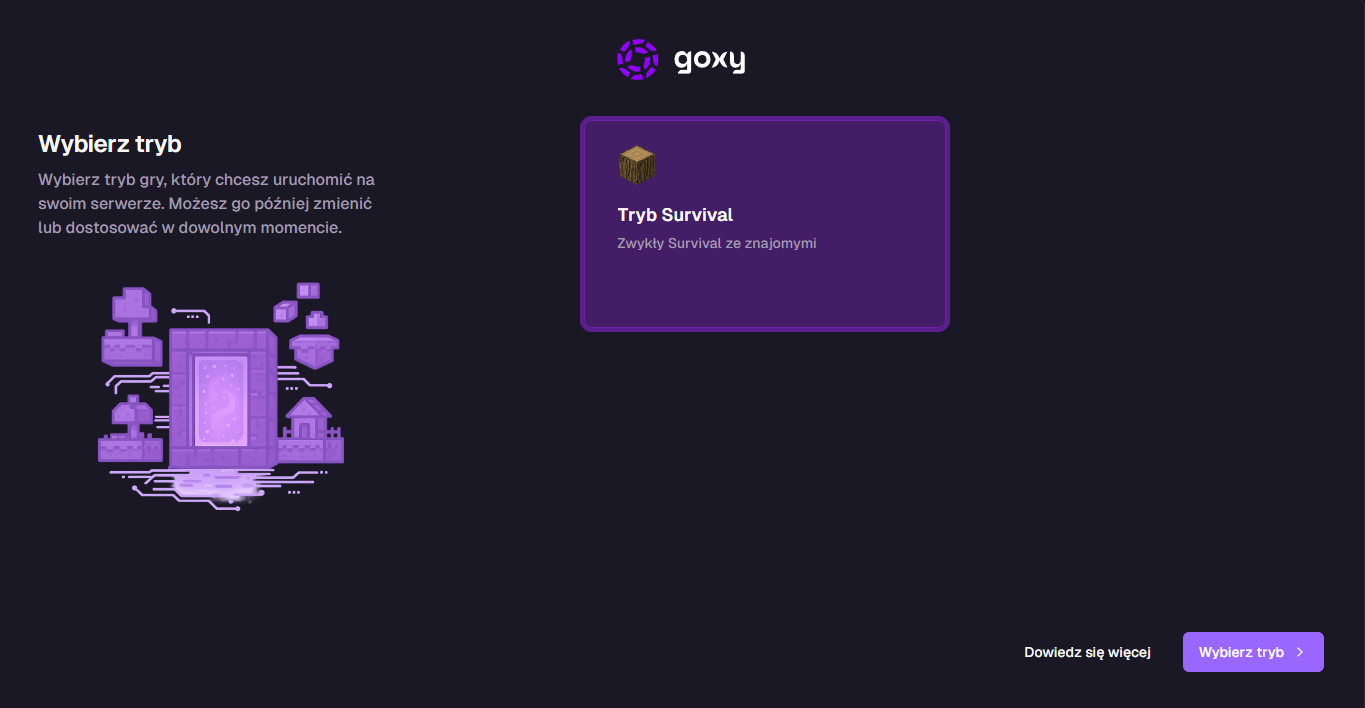
Currently, only Survival mode is available, but more modes will be added in the future!
- Select Survival.
- Click Select Mode to proceed to add-ons.
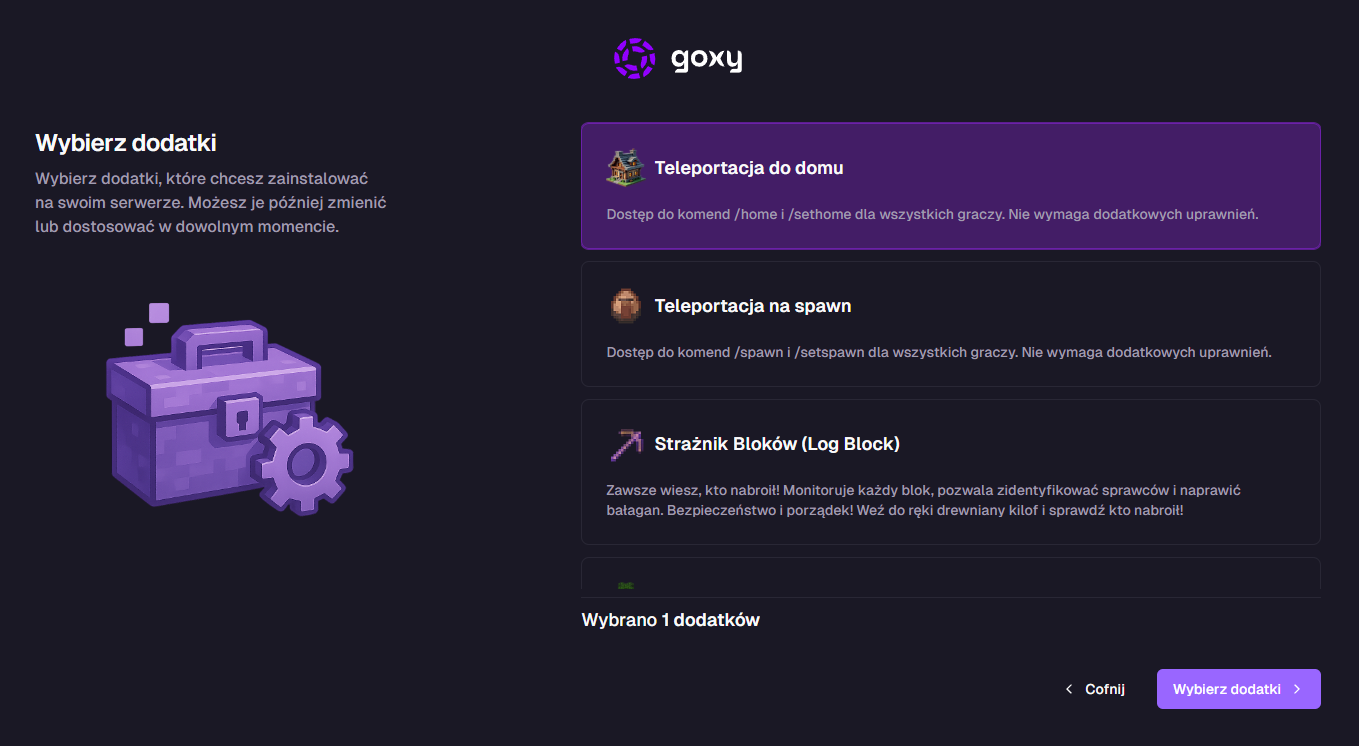
Step 3: Choose Add-ons
Pick the add-ons you want to install on your server. You can change or add them at any time.
| Add-on | Description |
|---|---|
| Home Teleport | Access to /home and /sethome for all players. No extra permissions needed. |
| Spawn Teleport | Access to /spawn and /setspawn for all players. No extra permissions needed. |
| Block Logger (Log Block) | Tracks every block change, helps identify griefers, and fix damage. Use a wooden pickaxe to inspect! |
| Fast Tree Chopping | Chop entire trees with an axe while crouching (SHIFT) for maximum efficiency. |
| Map as Minimap | The in-hand map works like a minimap without external mods. |
| Pixel Heads | Library of thousands of custom player heads for decoration. |
| Visible Crafting | Crafting recipes and items are visible to everyone on the crafting table. |
| Chest Protect | Protect chests and areas from theft with an intuitive GUI and trusted player groups. |
| One Player Sleep | One player can skip the night for everyone, even if others are online. |
Don’t worry if you skip an add-on — you can add or remove it anytime from the Goxy panel!
- Check the desired add-ons (e.g., Block Logger).
- Click Select Add-ons to continue.
Step 4: Choose Server Size
Specify the approximate server size to allocate resources. You can change this at any time.
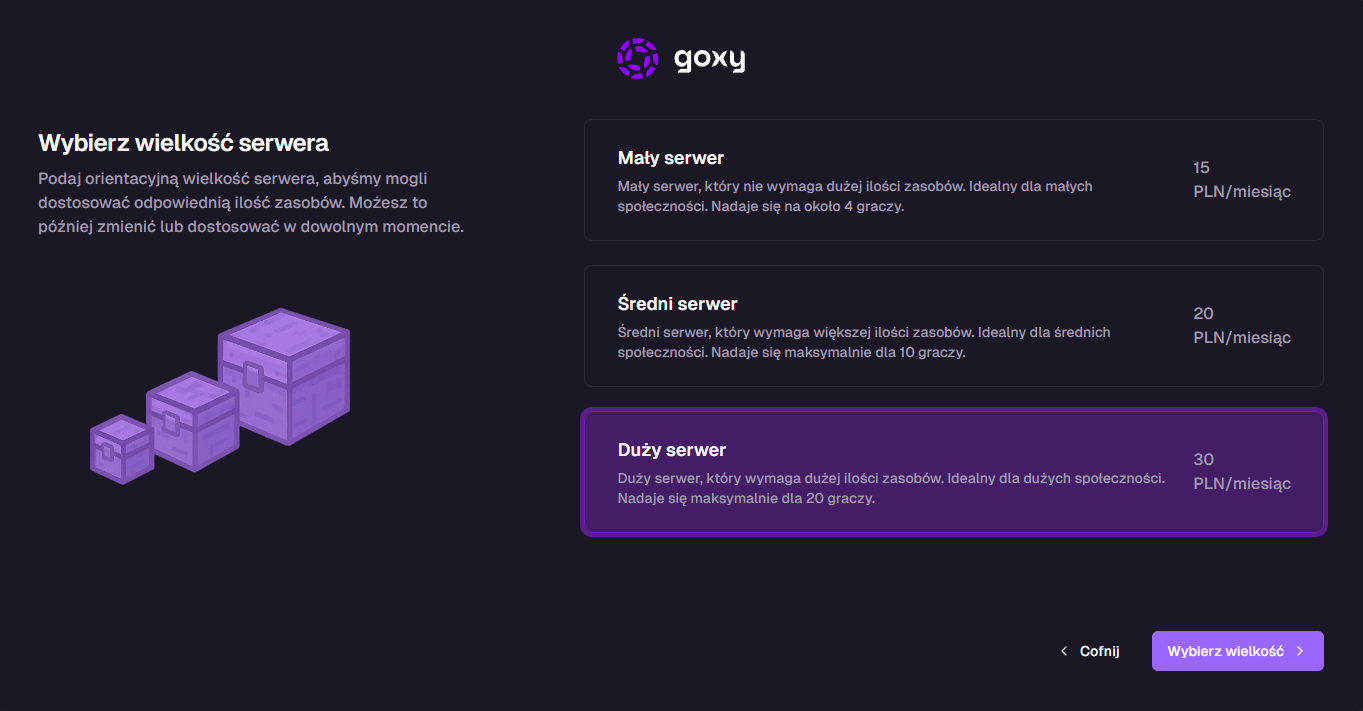
- Select server size (e.g., Small Server).
- Click Next.
Step 5: Choose Support Level
Decide if you need additional technical support. You can opt out of this at any time.
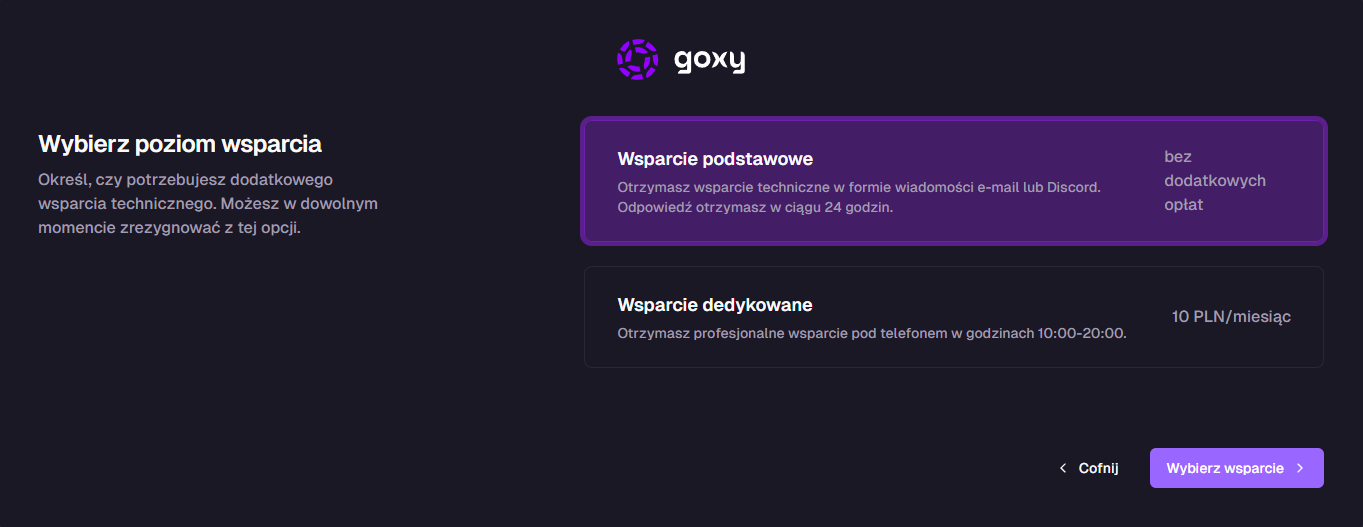
- Choose support level (e.g., Basic Support).
- Click Next.
Step 6: Server Name & Billing
Enter your server name and select the billing cycle.
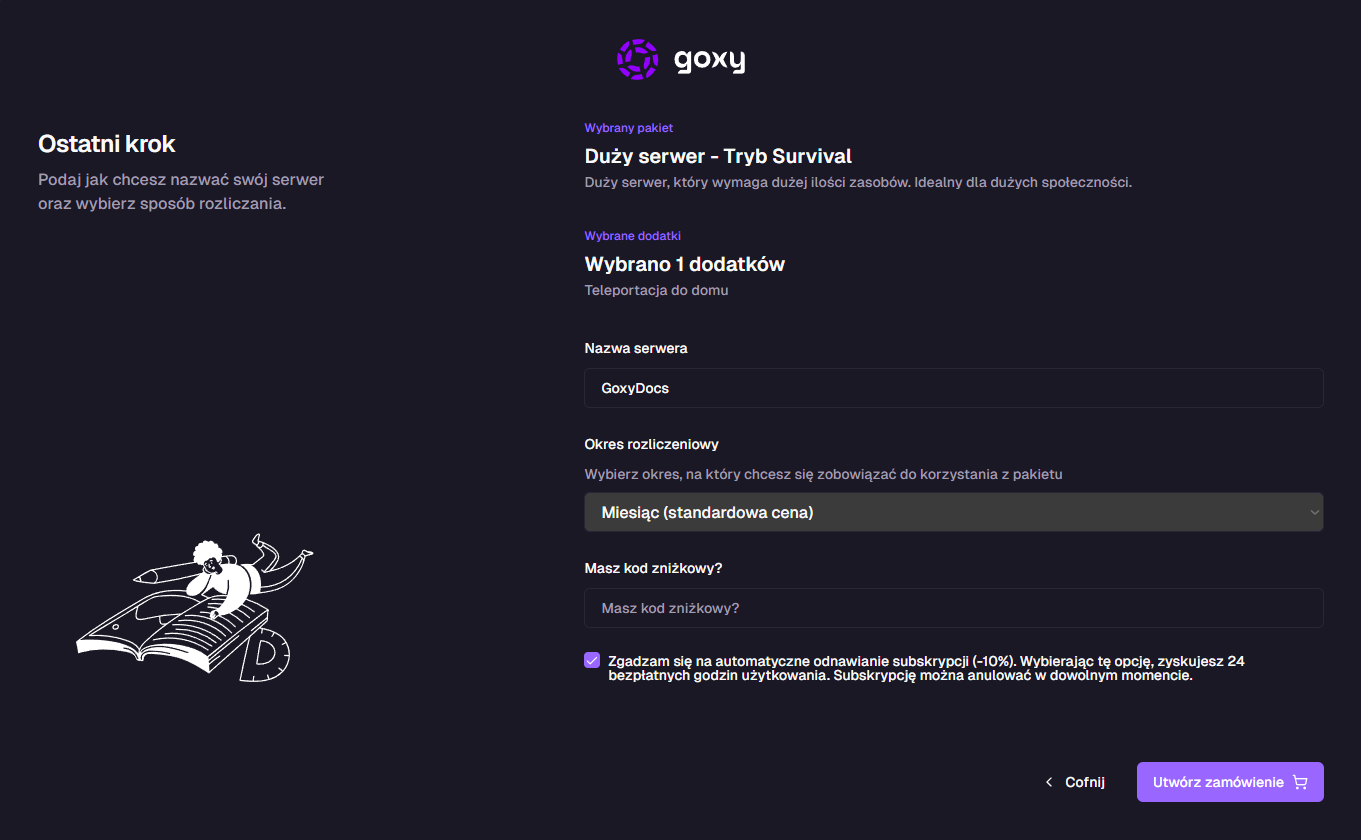
Package Summary
Example summary:
- Selected package: Small Server - Survival Mode
- Selected add-ons: Block Logger (Log Block)
- Server name: Enter a name, e.g.,
GoxyDocs - Billing period:
- Weekly (+10% to price)
- Monthly (standard price)
- Quarterly (-10% discount)
- Semi-annual (-20% discount)
- Annual (-30% discount)
Enable Auto-renew subscription (-10% discount) and get 24 hours of free usage. You can cancel anytime.
- Enter the server name.
- Choose the billing period.
- (Optional) Enter a discount code.
- Click Create Order and complete the payment.
Hosting Panel
After creating the server, you’ll see the hosting panel — similar to the proxy panel. Example view for server GoxyDocs:
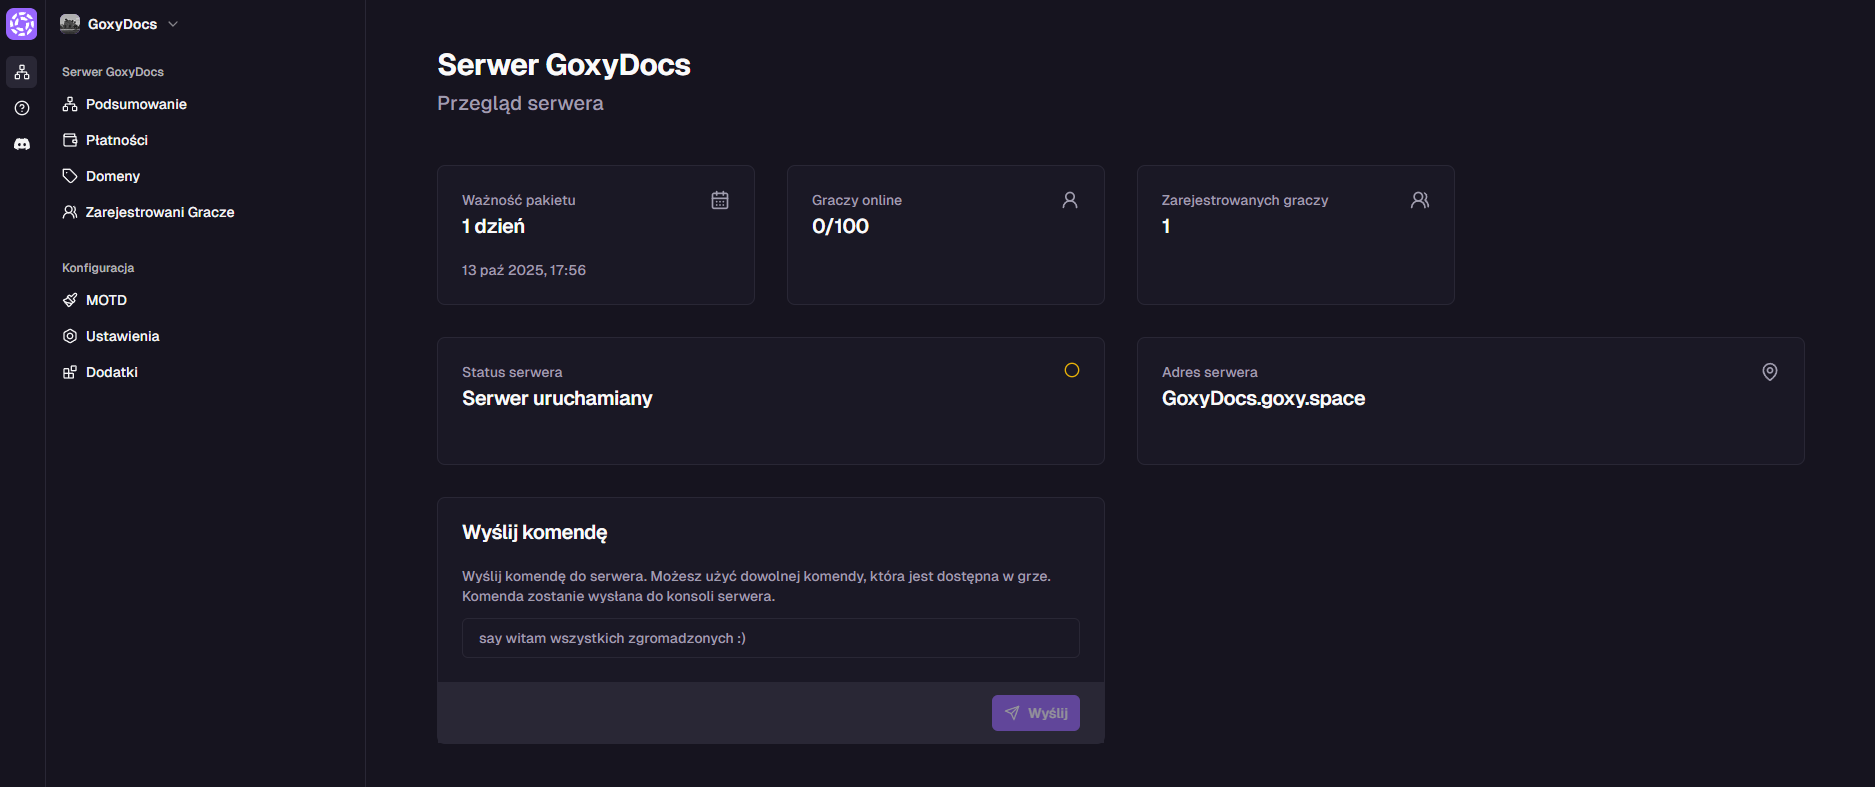
Available Actions
- Send Command: Enter a console command, e.g.,
say hello everyone :). - Set MOTD: See MOTD documentation.
- Manage Players: See player management docs.
- Set Whitelist: See whitelist config.
- Set Login/Registration: See login config.
- Set Slot Count: In general settings.
Manage Add-ons
Go to the Add-ons tab to manage installed add-ons. Add or remove them anytime.
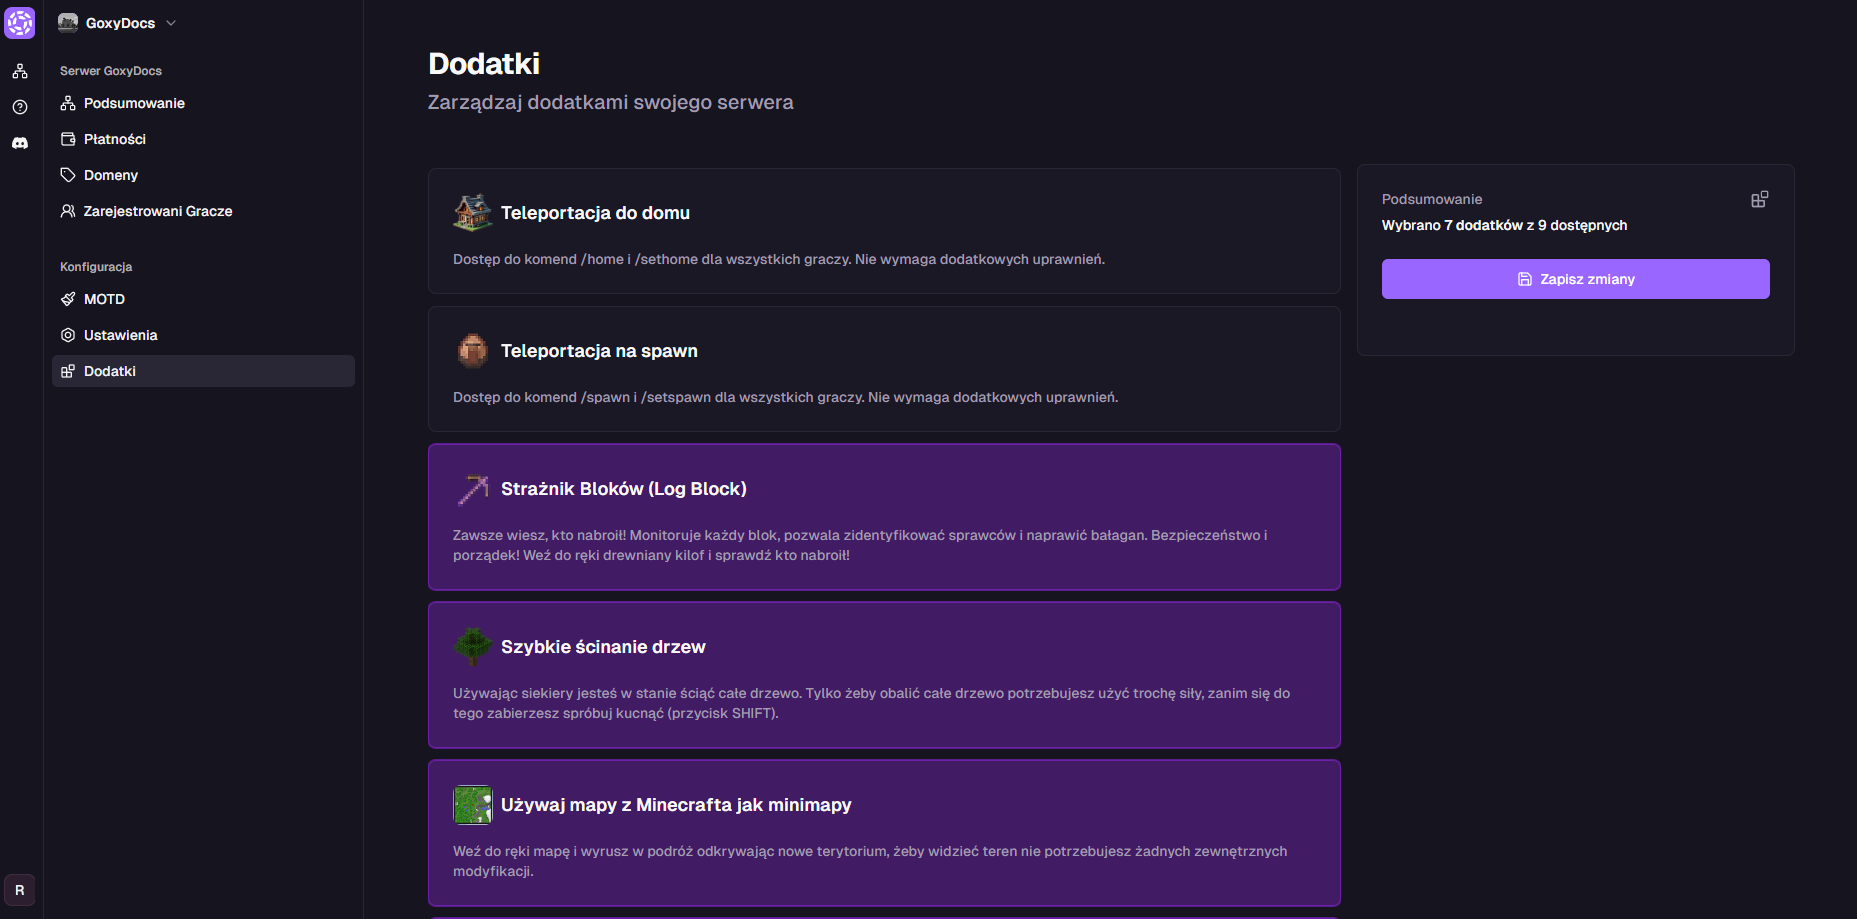
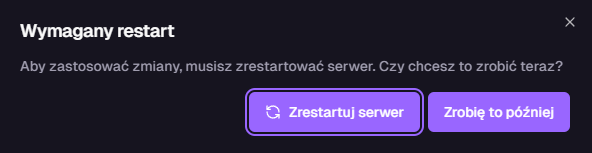
After selecting an add-on (e.g., Block Logger), save changes and restart the server.
Quick Start
Launch your server in minutes!
Customization
Customize game mode and add-ons.
Flexibility
Change settings anytime.
📎 Link & Resources
Here are the key links to our resources — all in one place!
| Resource | Link |
|---|---|
| Goxy Homepage | goxy.io |
| Admin Panel | dashboard.goxy.io |
| Status Page | status.goxy.io |
| Discord Community | Join Discord |
| Awesome Goxy List | View list |
| API Documentation | API Docs |
Contact us!
We respond to all messages within 24 hours on Discord.