Generating a Token and Configuring a Minecraft Server
This guide will walk you through the process of generating an access token for your server and configuring a Minecraft server in the panel. The token is like a unique password that identifies your server in Goxy, and proper plugin configuration ensures seamless connectivity. Ready to secure your server and start the game?
In just a few minutes, you’ll generate a token and configure your server to make your network run like a dream!
Step 1: Generating an Access Token for the Server
The access token is a unique key that identifies a single server in Goxy. Each server must have its own token—without it, connecting to Goxy servers and joining the game won’t be possible.
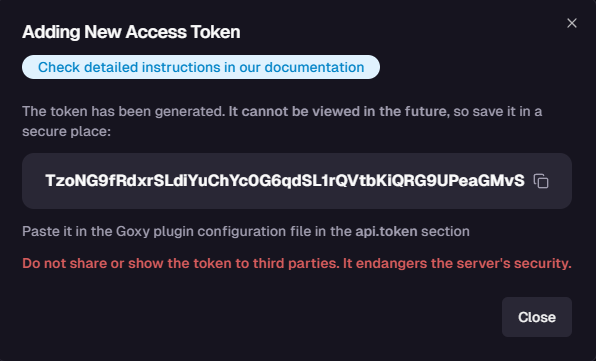
Warning: After closing the token window, you won’t be able to view it again. Copy the token and store it in a safe place!
-
Click the
New Tokenbutton on the network tokens list.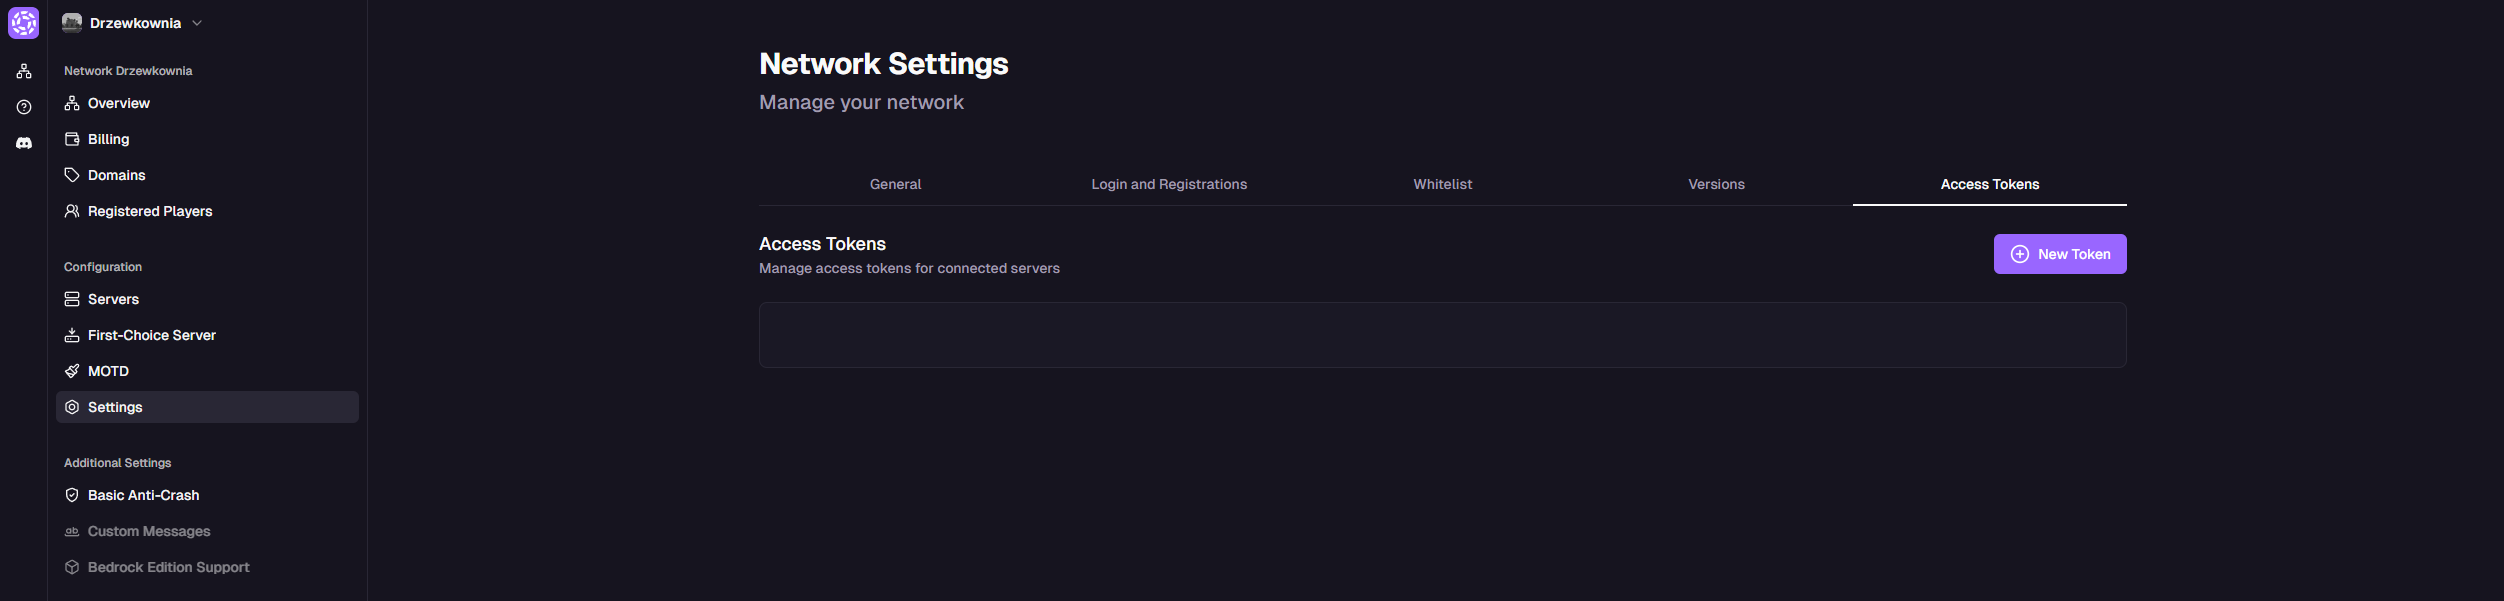
-
Fill in the token details in the form:
📛 Token Name
We recommend using the same name as the server, e.g., "Lobby1".
📁 Token Folder
Select the folder to which the server is assigned.
🖥️ Token Server
Select the specific server for which you’re generating the token.
-
Click the
Createbutton.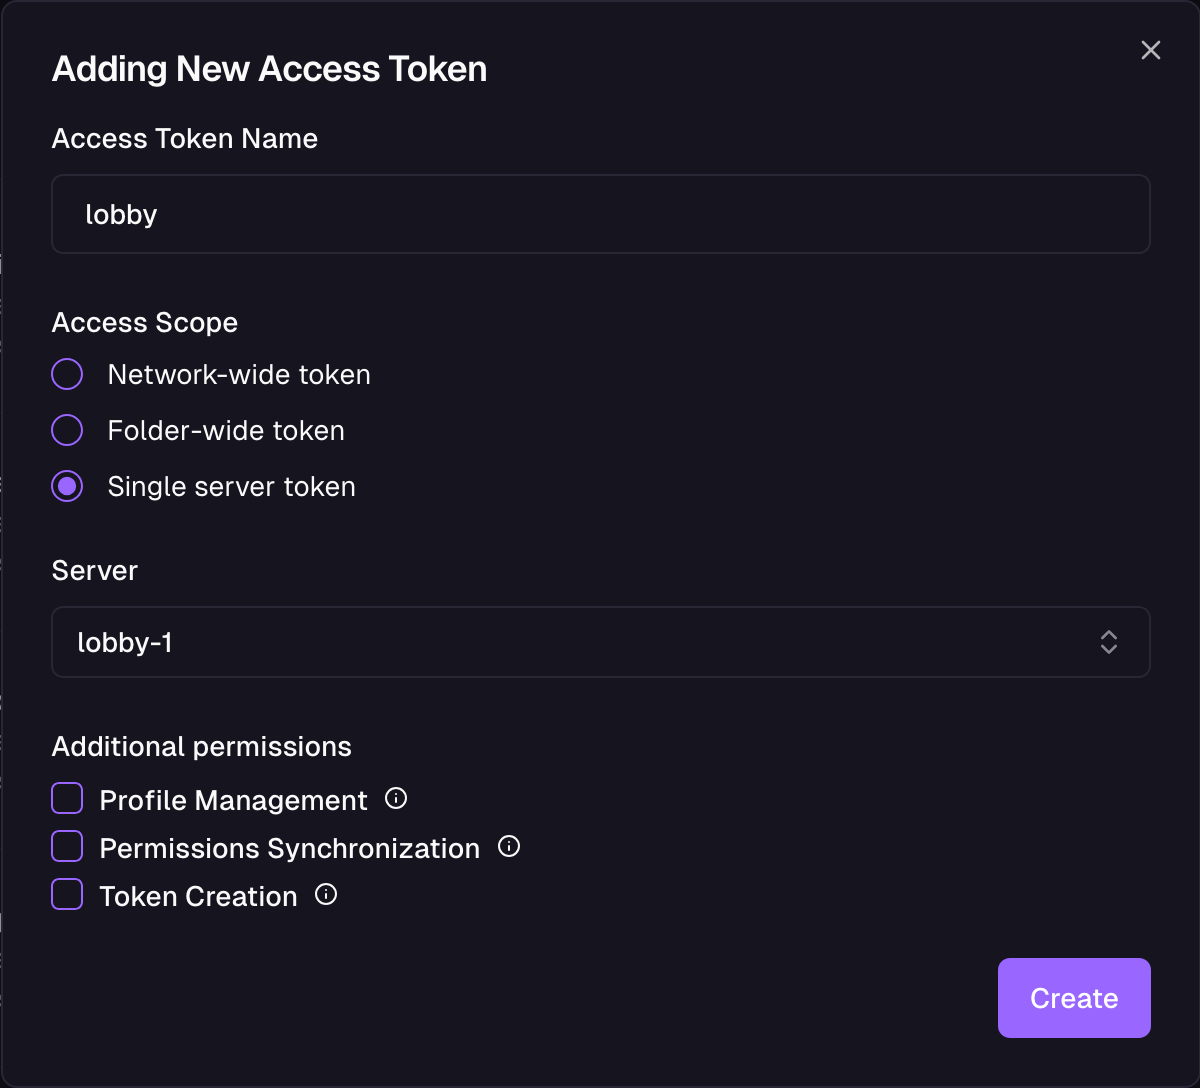
Enables managing player profiles via in-game commands—changing names, priorities, account status, passwords, etc.
Enables automatic synchronization of player permissions from the server. This ensures player priorities are automatically synced.
- Copy the generated token. Note: The token will only be visible once!
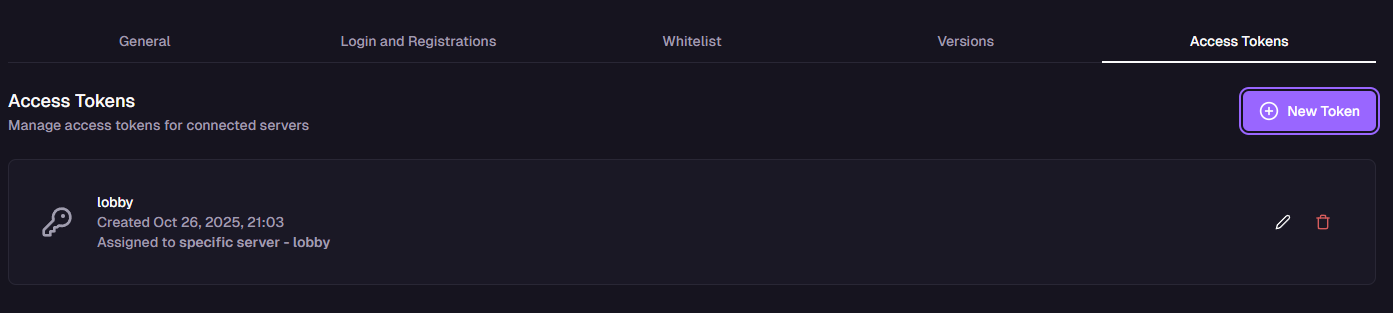
- Ensure the new token appears in the list of all tokens.
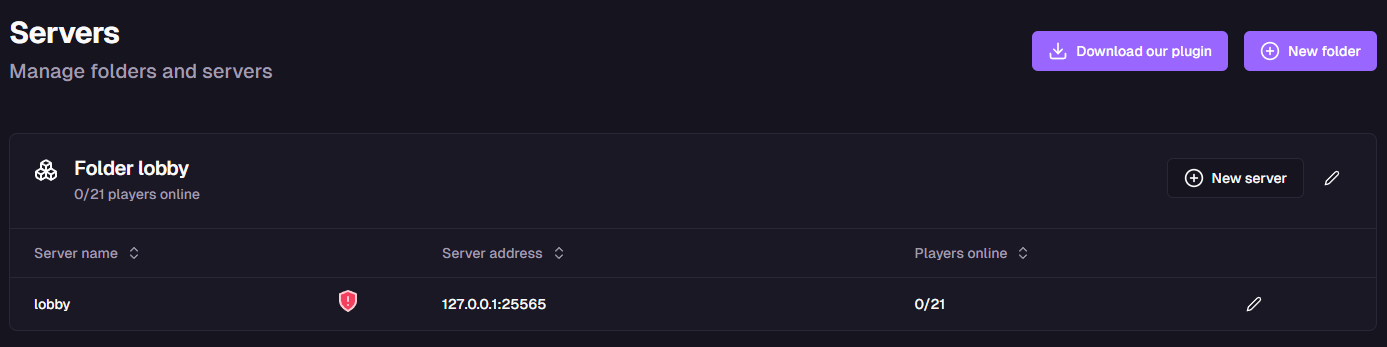
Step 2: Configuring the Minecraft Server
Goxy supports all major Minecraft server versions starting from engine version 1.8.8. The server must be based on the Spigot engine. If you’re using a different engine, contact us.
- Shut down the server you’ll be configuring.
- Download the official Goxy plugin from this page. You can also download it from the admin panel by navigating to the server list for the selected network.
- Move the downloaded plugin to the
pluginsfolder in the server’s main directory. - Start the server to generate the plugin’s configuration.
- Shut down the server again to avoid overwriting data.
- Open the
config.ymlfile in theplugins/goxyfolder. The file’s contents should
api:
   token: "<paste your key here>"
- In the token field under the api section, paste the previously generated access token:
api:
   token: "FHJ9M2VTli9rXb8Hruvj4FxzGNmx2dLqPKmNbminuK28hEUx"
- Restart the Minecraft server. In the server logs, you should see a message confirming that the Goxy plugin successfully connected to our server.
🔒 Security
A unique token protects your server from unauthorized access.
⚙️ Compatibility
Support for Minecraft from version 1.8.8 on the Spigot engine.
🚀 Speed
Plugin configuration in minutes for smooth gameplay.
📎 Links and Resources
Here are the key links to our resources—all in one place!
| Resource | Link |
|---|---|
| Goxy Homepage | goxy.io |
| Admin Panel | dashboard.goxy.io |
| Status Page | status.goxy.io |
| Discord Community | Join on Discord |
| Awesome Goxy List | Check the list |
| API Documentation | API Docs |
Contact us!
We respond to all messages within 24 hours on Discord.
🎉 Configure Your Server and Start Playing!
Join Goxy and build your Minecraft community!
REGISTER FOR FREE